내일배움캠프 Node.js 사전캠프 11일차
1. ZEP에서 이루어진 팀단위 JavaScript 스터디
(1) 스터디 계획

르탄이 슈팅 게임 (ppiok-owo.github.io)
르탄이 슈팅 게임
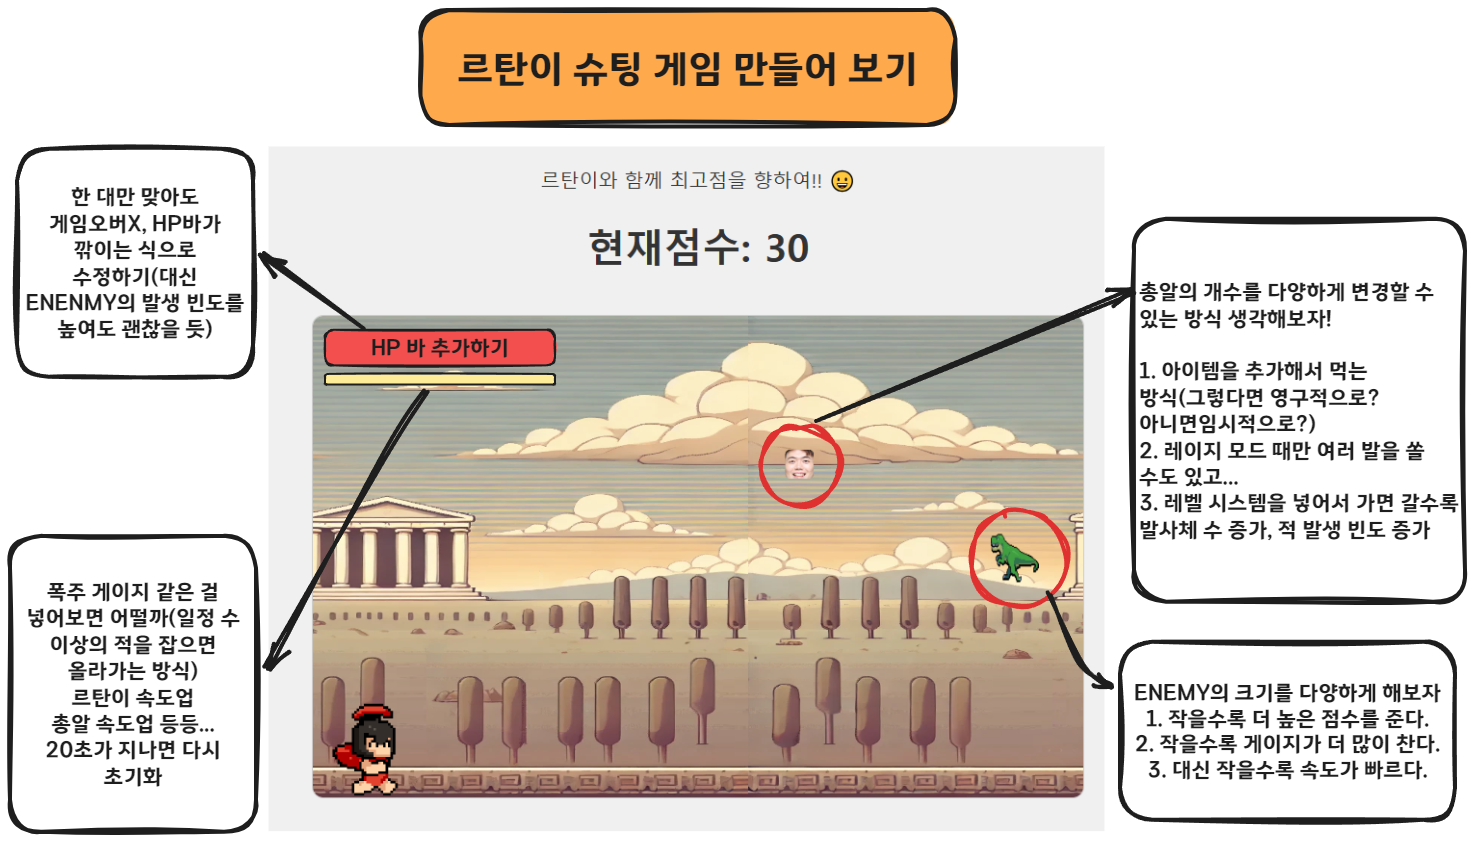
르탄이와 함께 최고점을 향하여!! 😀 HP: 100 현재점수: 0
ppiok-owo.github.io
1) 게임 재시작시 발생하는 버그 수정하기
2) 비주얼 향상(HP바와 폭주 게이지 바의 가시성 높이기, 피격 시 캐릭터가 붉은 색 효과)
3) 편의성 향상 (HP 포션 추가, 보스전과 게임 엔딩 추가)
4) 코드 간결하게 정리해 보기
게임을 직접 테스트하며 찾아낸 버그나 오류들을 수정하고, 게임 외적으로 부족했던 부분들을 보완하기 위해 스터디를 진행하였다.
(2) 코드 작성하기
게임 재시작시 발생하는 버그 수정하기
직접 플레이하며 테스트해본 결과, 게임 재시작시 발생한 버그의 목록은 다음과 같았다.
- HP수치는 초기화를 해두었지만, HP바를 새롭게 그리는 코드를 추가하지 않아서 체력 게이지가 텅빈 채로 게임이 시작되었다.
- HP수치는 초기화했지만 HTML 파일 상의 텍스트는 초기화하지 않아서 게임 재시작 시점의 체력 값이 실제와 다르게 출력되었다.
- 조건식을 따로 설정하지 않아서 클릭을 통해 게임 시작을 하기도 전에 스페이스바를 누르면 총알이 발사되었다.
- 폭주 게이지가 최대치를 넘어버리는 현상이 발생했다.
- 타이머 변수를 삭제한 까닭에 캐릭터가 달릴 수 있게 설정해두었던 코드가 작동하지 않음
- 총알의 객체를 프레임마다 생성하여서 딜레이가 필요함
HP 수치와 HP바 인터페이스를 초기화 하기 위해 다음과 같이 코드를 수정하였다.
/** 게임 재시작 함수 */

function restartGame() {
  gameOver = false;
  bulletArray = [];
  enemyArray = [];
  rtan.hp = maxHp;
  HP_bar.width = 100 * HP_BAR_WIDTH_COEFF;
  RAGE_GAGE = 0;
  timer = 0;
  score = 0;
  scoreText.innerHTML = "현재점수: " + score;
  hpText.innerHTML = "HP: " + maxHp;
  rtan.x = 10;
  rtan.y = 400;
  animate();
}
게임 시작 이전에 총알이 발사되는 현상은 불리언 값(gameStarted)을 AND 조건으로 추가하여 제한해 주었다.
window.addEventListener("keypress", function (e) {
  if (gameStarted && e.code === "Space") {
    const bullet = new Bullet();
    if (rtan.Israge) {
      bulletArray.push(bullet);
      bulletSound.currentTime = 0;
      bulletSound.play();

      const bullet2 = new Bullet2();
      const bullet3 = new Bullet3();

      bullet2.draw();
      bullet2.update();
      bullet3.draw();
      bullet3.update();
      if (bullet.x > canvas.width) bulletArray.splice(bulletIndex, 1);

      bulletArray.push(bullet2);
      bulletArray.push(bullet3);
      bulletSound.currentTime = 0;
      bulletSound.play();
    } else {
      bulletArray.push(bullet);
      bulletSound.currentTime = 0;
      bulletSound.play();
    }
  }
});
폭주 게이지가 최대치를 넘어버리는 현상은 if문을 통해 수정해주었다.
  // 폭주 모드에 진입해도 괜찮은지 검사
  if (RAGE_GAGE >= 100 * GAGE_BAR_WIDTH_COEFF && !rtan.Israge) {
    // 폭주 게이지가 최대치를 넘지 않게 조정
    RAGE_GAGE = 100 * GAGE_BAR_WIDTH_COEFF;
    rtan.Israge = true;
  }
총알의 객체 생성에 딜레이를 주기 위해 새로운 시간 변수를 만들 필요성을 느끼게 되었다.
이를 테면 0.3초마다 총알이 발사되게끔 조건식을 만들고 싶은데 현재 코드로서는 '초'라는 개념을 만들어내기 어렵기 때문이다.
그리하여 사용하게 된 것이 deltaTime 변수이다.
deltaTime은 requestAnimationFrame()메서드가 프레임마다 실행된다는 성질을 이용하여 그 사이에 걸리는 시간을 계산한 변수이다. 이게 가능한 이유는 requestAnimationFrame()메서드가 페이지가 로드된 이후 경과된 시간을 밀리초 단위로 반환해주기 때문이다.
let lastFrameTime = 0;

function animate(frameTime) {
    requestAnimationFrame(animate);
    // animate(frameTime) 함수를 실행할 때 frameTime 인자에 페이지가 로드된 이후 경과된 시간을 반환해준다.

    deltaTime = (frameTime - lastFrameTime) / 1000;
    // frameTime - lastFrameTime : 1프레임 동안 걸리는 시간(밀리초)
    // ((frameTime - lastFrameTime) / 1000): 1프레임당 걸린 시간을 초 단위로 변환

    lastFrameTime = frameTime;
    accumulatedTime += deltaTime; // 총 누적 시간
    gameTimer += deltaTime; // 오브젝트 생성용 타이머
}
위와 같은 변수는 특정 기능의 빈도를 조절할 때 사용할 수 있다.
/** 적 생성 및 업데이트 */

  if (gameTimer >= ENEMY_FREQUENCY) {// 0.5초마다 적 생성
    const enemy = new Enemy();
    enemyArray.push(enemy);
    gameTimer = 0;
  }
이를 총알 객체에 적용시킨다면 다음과 같이 코드를 짤 수 있다.
// 스페이스바(공백)를 누를 시 총알 발사

  if (keyPresses[" "]) {
    let currentTime = accumulatedTime;
    // 총 누적 시간을 현재 시간 변수에 할당
    if (currentTime - lastBulletTime >= 0.3) {
      // 현재시간-마지막 발사 시간이 0.3초 이상일 때만 총알 객체 생성하기(사격의 딜레이를 주기 위함)
      const bullet = new Bullet();

      bulletArray.push(bullet);
      bulletSound.currentTime = 0;
      bulletSound.play();

      lastBulletTime = currentTime;

      // 폭주 모드일 때 총알 두 개 추가
      if (rtan.Israge) {
        const bullet2 = new Bullet2();
        const bullet3 = new Bullet3();

        bullet2.draw();
        bullet2.update();
        bullet3.draw();
        bullet3.update();

        bulletArray.push(bullet2);
        bulletArray.push(bullet3);
        bulletSound.currentTime = 0;
        bulletSound.play();
      }
      // 총알이 캔버스 바깥으로 나가면 삭제하기
      if (bullet.x > canvas.width || bullet.x < 0 || bullet.y > canvas.height || bullet.y < 0) bulletArray.splice(bulletIndex, 1);
    }
  }

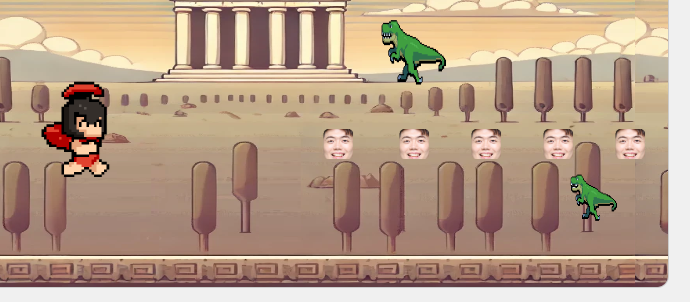
코드가 적용된 모습(이젠 총알이 프레임마다 생성되지 않고 0.3초라는 정해진 시간에 따라 생성된다.)
비주얼 향상시키기
HP바 객체와 폭주 게이지바 객체에 다음과 같은 메서드를 추가하여서 가시성을 끌어올렸다.
// 생략...

drawBG() {
    ctx.fillStyle = "#D3D3D3";
    ctx.fillRect(this.x, this.y, this.max_width, this.height);
  },
  draw() {
    const my_gradient = ctx.createLinearGradient(0, this.y, 0, this.y + this.height); // gradient
    my_gradient.addColorStop(0, "#800000");
    my_gradient.addColorStop(0.5, "#FF0000");
    my_gradient.addColorStop(1, "#FF7F50");
    ctx.fillStyle = my_gradient;
    ctx.strokeStyle = "black";
    ctx.lineWidth = 3;
    ctx.fillRect(this.x, this.y, this.width, this.height);
    ctx.strokeRect(this.x, this.y, this.max_width, this.height);
  }

// 중략...

  HP_bar.drawBG();
  HP_bar.draw();
  GAGE_bar.drawBG();
  GAGE_bar.draw();

 // 후략...
수정한 결과물은 아래 이미지와 같다.


댓글